

Welcome!
The first step when starting programming is installing your development environment (IDE).
A development environment is a software that lets you develop, run and debug the programs you create.
The IDE we will be using is “Eclipse IDE for Java developers” (Why Eclipse?).
Prerequisites: Installing Java Development Kit (JDK).
In order to be able to run Eclipse IDE you must download and install JDK first.
See the detailed JDK installation instructions.
Follow the next steps in order to install it on your computer (The installation instructions are for Microsoft Windows OS, if you have another OS, please follow the instructions on the official Eclipse site).
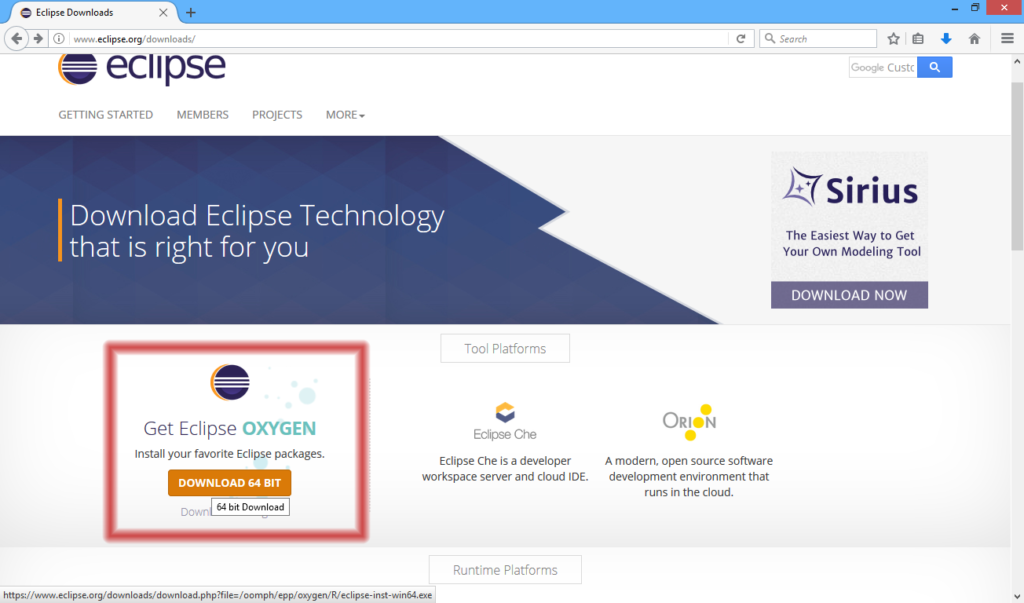
- Download the Eclipse IDE installer by clicking on the orange download button in from the download page:
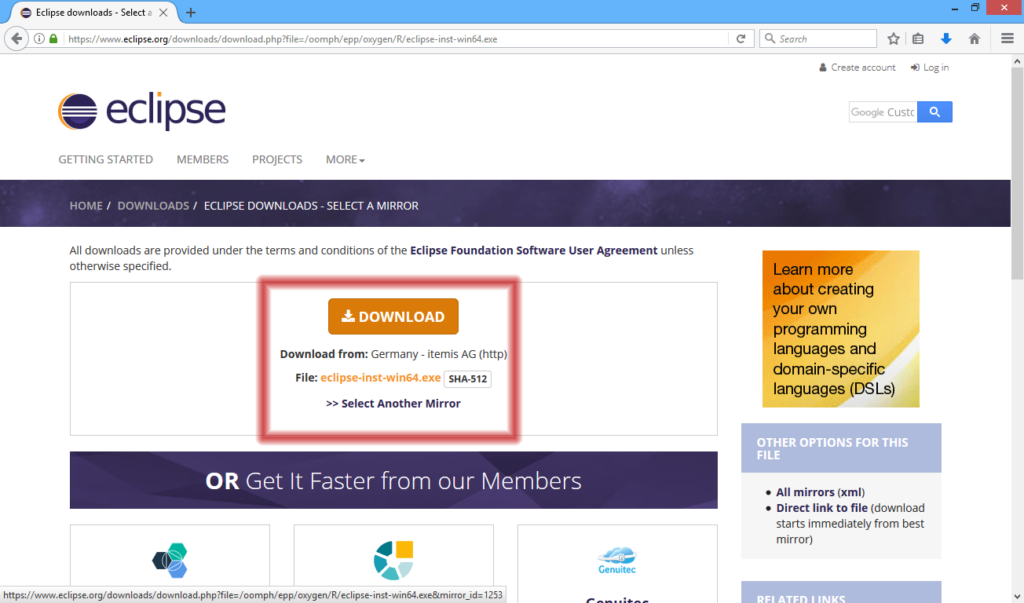
- Click download again to actually start the download:
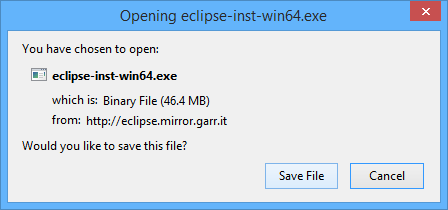
- If prompted (in case you’re using Firefox) – click on “Save File”:
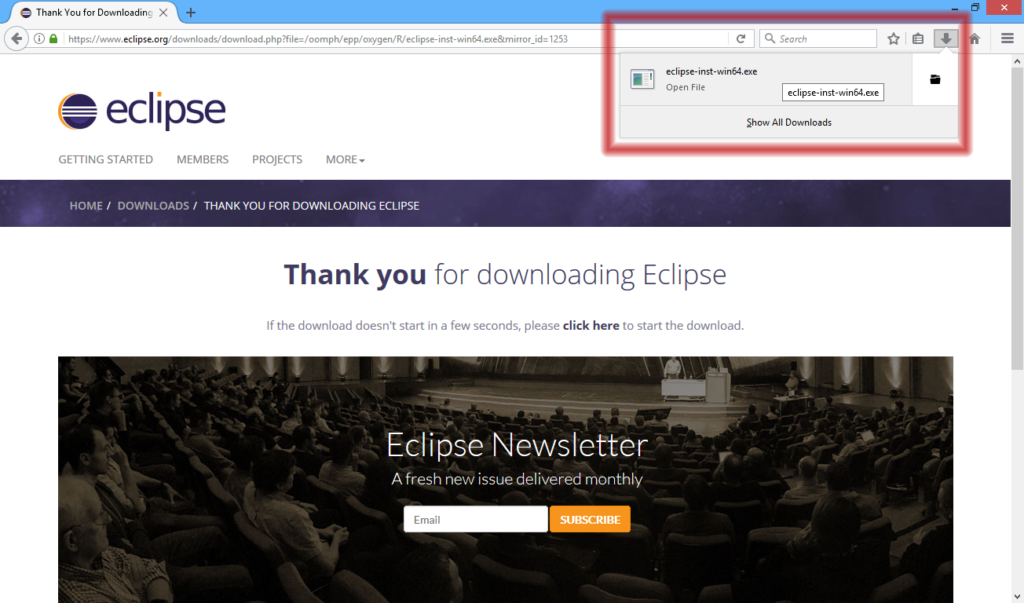
- When the download is finished – click on the download arrow, and then click on the downloaded file in order to run it:
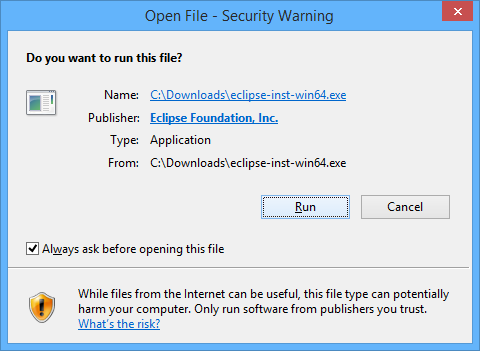
- If prompted – click on “Run” in order to start the installation process:
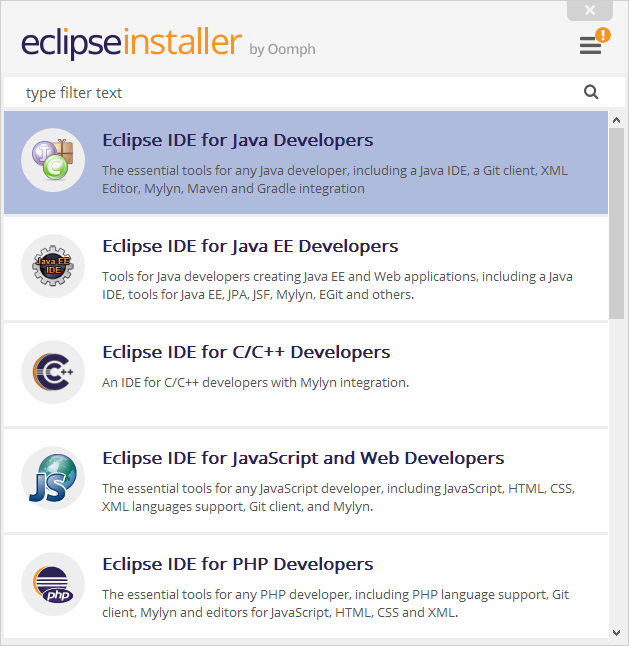
- The first step of the installation is selecting the development tools that the IDE will support. We will select “Eclipse IDE for Java Developers” (The first option) by clicking on it.
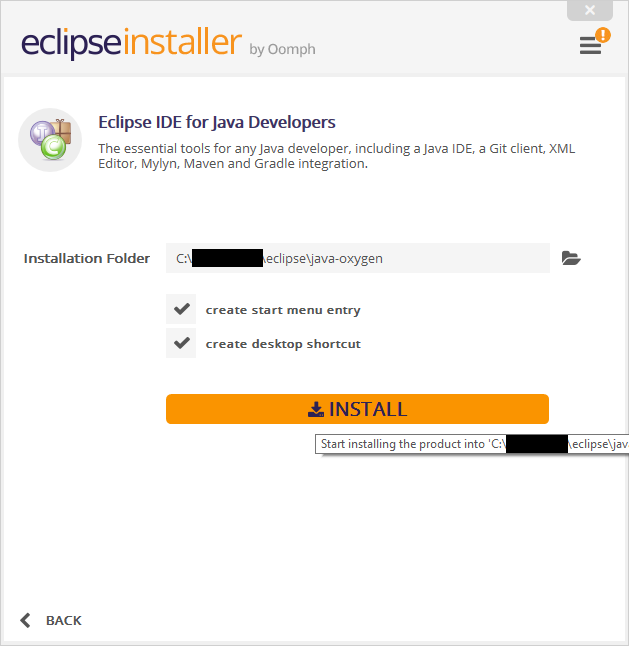
- Click on the “INSTALL” button to start the installation:
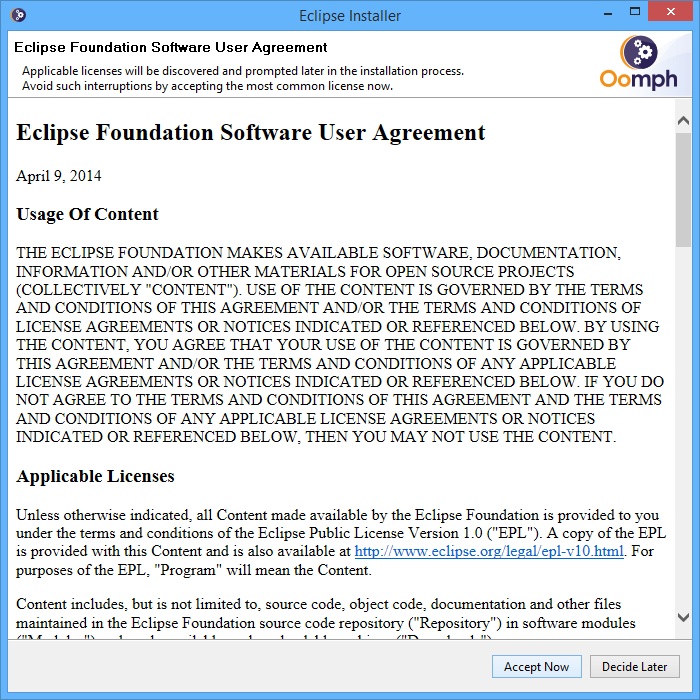
- Read and accept the license agreement by clicking “Accept Now”:
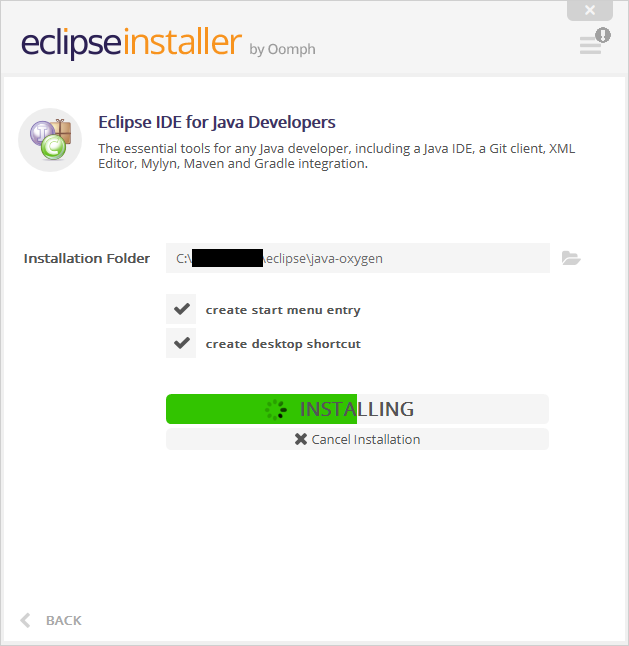
- Now we wait for the installation is in progress:
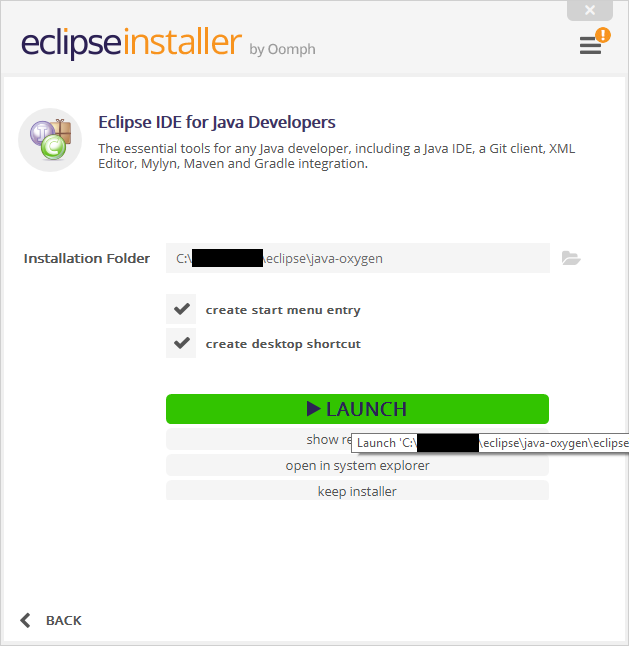
- After the installation is complete – we can launch the Eclipse IDE:
- After clicking the launch button, we will get the Eclipse splash screen:

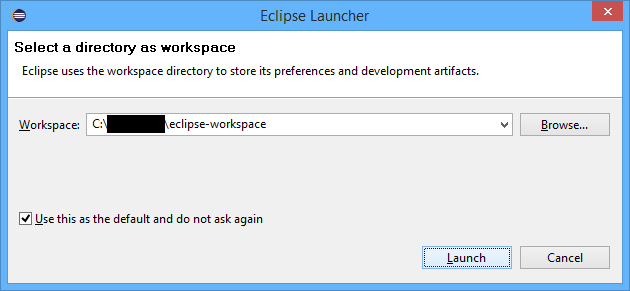
- We will be prompted to select our workspace location, where all the projects will be created – We will select the “Use this as the default and do not ask again” check box, and click on the “Launch” button.
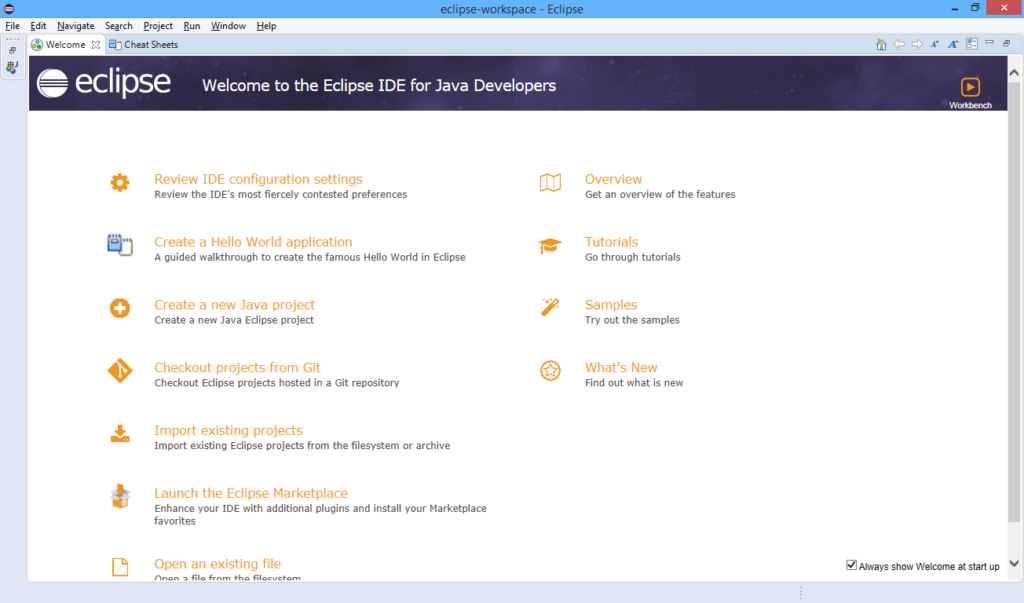
- We should now get the Eclipse welcome screen:
Now you have an IDE installed on your computer and you are ready to start programming!
We will make our first program on the next page.